Mike
Mercury
Readers Car Ramps
Ramp
Main / our
2002/mods/carcover/reducing
interior noise/ham
radio/3.42
upgrade
Thanks for all the feedback and pics of the
ramps you have built. I felt it only fitting to show the nice work of
those that have built these ramps and their
variations.
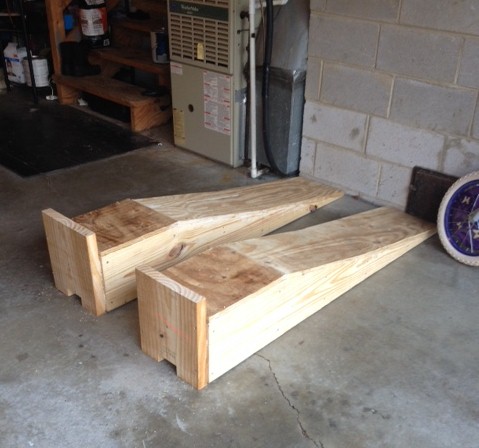
David from
Virginia
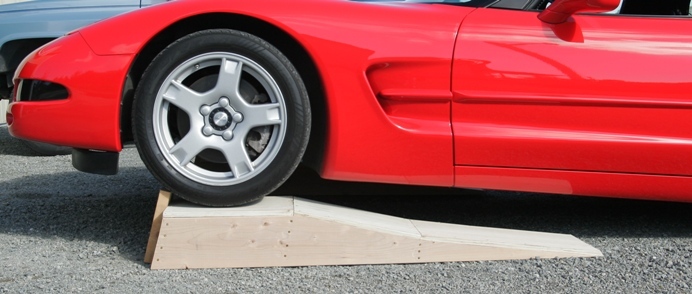
Greetings, Tim. I can report that your ramp design works
great for C4’s as well. Copied your dimensions. Used 2x10x10 and
¾ plywood as you suggested.
I used liquid nails to join every piece followed by 3”
exterior wood screws (at the narrow approach end, I used 1” wood
screws and screwed up from underneath).
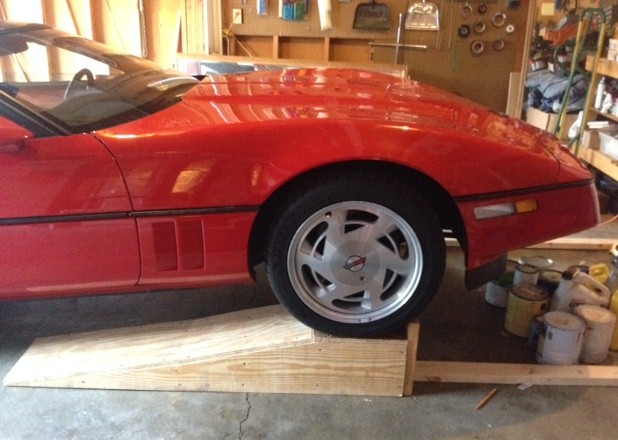
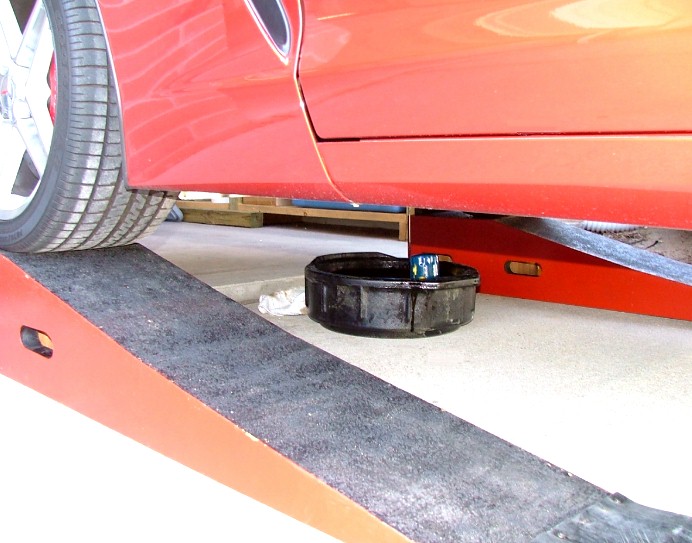
Modification – I think that your design will work fine as is
with a standard C4. If you have a Z51 C4 like I do then your deeper
front air dam will only allow
about an 1/8” clearance which was too tight for me (I tested
with a cardboard mock-up before firing up my table saw). I
straightened the back of the ramps,
giving me 2 additional inches on top, which I used to reduce the
lower incline from 9 to about 8 degrees, which yielded a more
comfortable 1/2” clearance. I also increased the amount of cross
bracing.

Scooting was unfortunately a problem in my garage so I cut a
notch at the base of the backstop just big enough to tightly wedge in
the end of a 2x4x8.
I then braced the other end of the 2x4x8 against the concrete block
back wall of my garage. Now they’re totally stable.
When done I just dislodge the 2x4x8’s and lean them up in the
corner of my garage. Total cost - $52. Can’t thank you enough!
Mike from New Castle, DE
Ramps came out Great! Used 3/4" plywood.
Thanks so much for sharing these plans.
Here is my 2001 Vette on my ramps. Used them
so I could install a Vararam system with power duct.

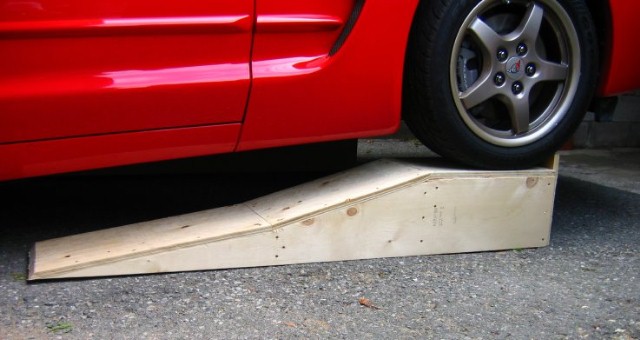
Chris from Louisiana
CorvetteForum -
"Corvette-Chris"
I came across the ramp plans that forum
member "Mike Mercury" drew up and posted on his website and decided
to make a pair.
My car is much lower than stock and my
bumper hit the ramps as I tried to drive on them, so I added the
hinged/fold-out piece of wood that gave my car just the clearance it
needed to get on with no problems. I also added a set of handles that
allow me to carry them very easily and both at the same time with
even weight distribution. (you can see if you look
closely):

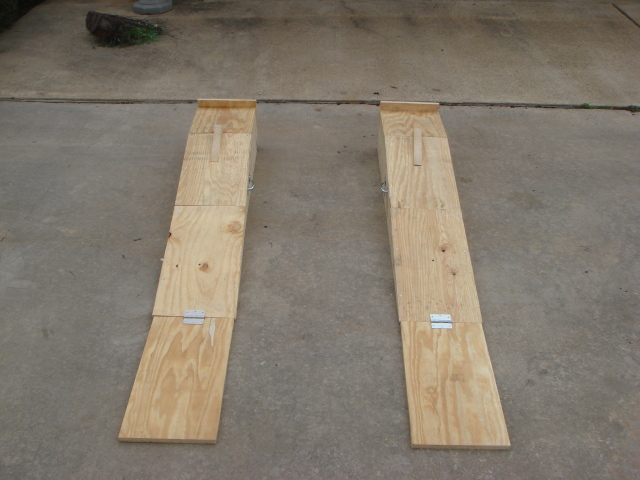
Lane
Corvette Forum - sliderhd
Thanx for the ramp design. I built mine out
of pressure treated because they are outside. I used Gorilla Glue and
also put the reinforcement under the top pad. Attached is a picture
of my "Load Test" before putting the Vette on them. Can't be too
careful. Truck weighs 7400 lbs!
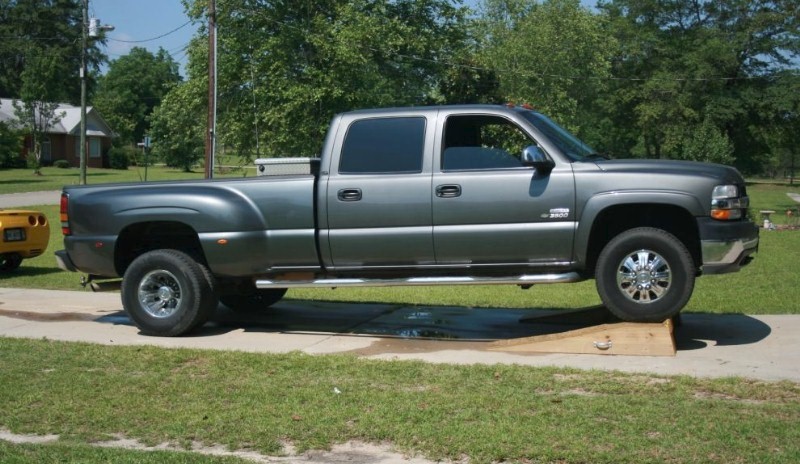
Ryan
Corvette Forum - NavyC5
Just wanted to let you know the ramps you designed years ago
work for a C6 Z06 with no problems at all. Drove the Z up on them
this afternoon to do an oil change. Might want to post the plans in
the C6 Z06 section. The only thing I would change is length of the
flat area. The car moves backwards when the rear is jacked up and I
had to reposition them. If the (landing pad area) was a little
longer, it would be easier.

Some info on the ramp mods:
1). Handles...my father built the ramps. Makes moving them around
million times easier.
2). No-skid (small gravel added between coats of paint)
3). Rubber flaps added to the front of the ramps. Prevents
"scooting" when car first makes contact. Next version will extend
rubber further so the
rear tires will be on before fronts go up the ramps. No
movement.
4). Silicone (not visible in pics) added to bottom of the ramps to
prevent "scooting"
5). Front stop incorporated into the front piece of the ramp.
Keeps everything solid and adds eliminates the worry of breaking the
stop off the
front.
Other plans for next version.
1). Longer "flat area" to allow for car movement. When the rear is
raised, the car wants to move backwards. Longer flat will add a
margin of safety.
2). As I said earlier, longer "flaps". This will allow the weight
of the car to be used to prevent the ramps from "scooting".
3). Possible "dip" in the flat area of the ramp to seat the care
perfectly and ensure no movement.
Bottom line. Excellent idea!!! No idea on the cost of
materials since I didn't build them. But a few 2x8s, some paint, and
some rubber. I would
guess less than $50 for the set. Plus you can drive a Z06 on them
with zero problems. Oh, and did I mention this is one of my few
possessions to
survive Hurricane Katrina.
David Woodcock
Corvette Forum - Dusty dog.
Hi Tim,
Sorry it has taken so long to get these pictures to you. I
don't use the ramps very often but when I do they work great!
Thanks again for sharing the plans for them!
Dave

Mike T.
Ontario Canada.
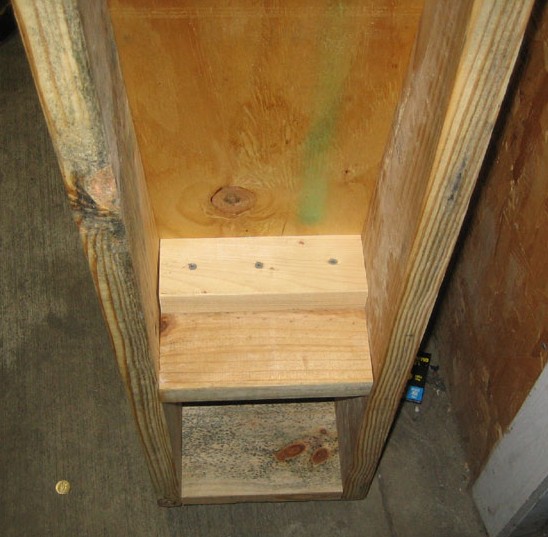
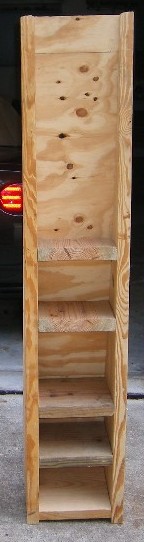
Hi Tim.
Yesterday I built a pair of Mike Mercury ramps for my '04 C5
Vette. I changed the design ever so slightly and made my top flat
section a full 16". This allows me to use wheel chocks behind the
front wheels. I did this for a good reason - I need to jack up the
back end for oil changing purposes and as soon as the rear wheels
leave the ground there is no parking brake or tranny Park holding the
car. So I cut a 45 through a 12" piece of 2x6 and the two chocks work
great. I also reinforced the area where the top and slope plywood
meets (like Joseph Caldwell did).
I like the double slope idea and I doubt I would have figured
this one out myself. A great idea that works perfectly. Regards; Mike
Tierney
Woodstock Ontario Canada
UPDATE:
This week I used my Mike Mercury ramps for the first real time
- I did an oil & filter change before putting the Vette into
hibernation. I got thinking of how I could make them better for my
own needs so I came up with the following modifications. Use them as
you see fit!
I have to carry them the full length of my garage to the
driveway and as they're fairly heavy and awkward I came up with a set
of lifting handles. I put them in just the right spot - I have to
squat down slightly to grab them - stand erect and they're off the
floor by about 3". That puts the pointy end near my ear so the left
hand reaches across and steadies this end.
Then I installed wheel chocks. Most screw-on things applied to
the front vertical 2x10 are at a bad mechanical advantage. The wheel
is trying to push them off. My wedges are screwed down with 4" screws
into the front 2x10. MM: fantastic idea
!
For the rear chocks I drilled the holes oversize and drop the
4" screws down into holes through to the 2nd 2x10 back. The oversize
holes allow the chocks to be installed and removed quickly.

I wanted rear chocks, as when the back end of the car is jacked
(to get it level or back-high for oil draining) the parking pawl and
the parking brake are doing nothing.
Enjoy. Many thanks for the original ramp design! They're
awesome. A buddy (cc'd here) just made a set for his C5 too.
Regards; Mike T.
(Mike; love those Magnesium wheels !!!)
Rex Martin
Hi Tim, I was reading a thread on the forum and posted pics of
the ramps I built from your plans for lowered Vettes.One of the guys
said you were looking for pics, so I am sending mine to you for your
use. Thanks for posting your design, they also work for my daughters
lowered Honda Civic.
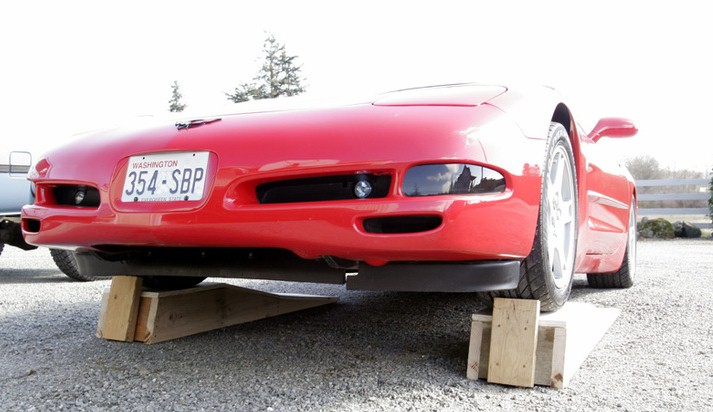
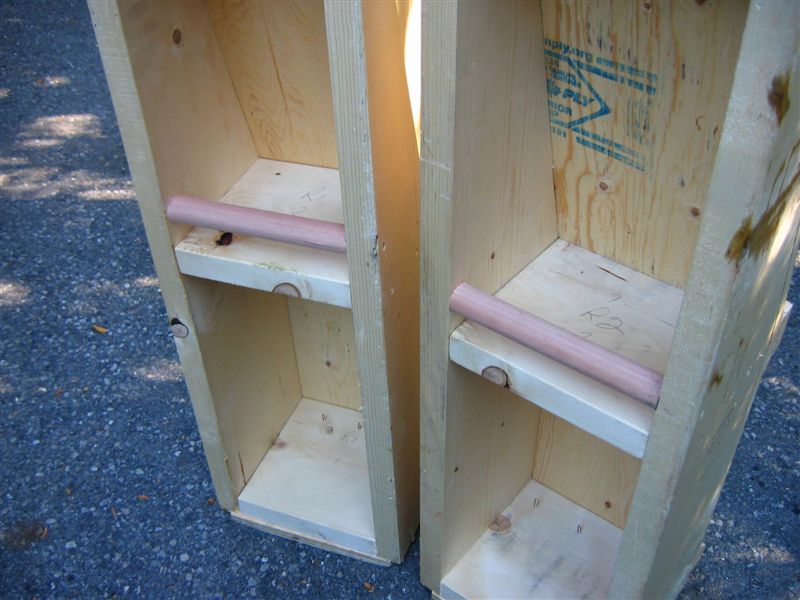
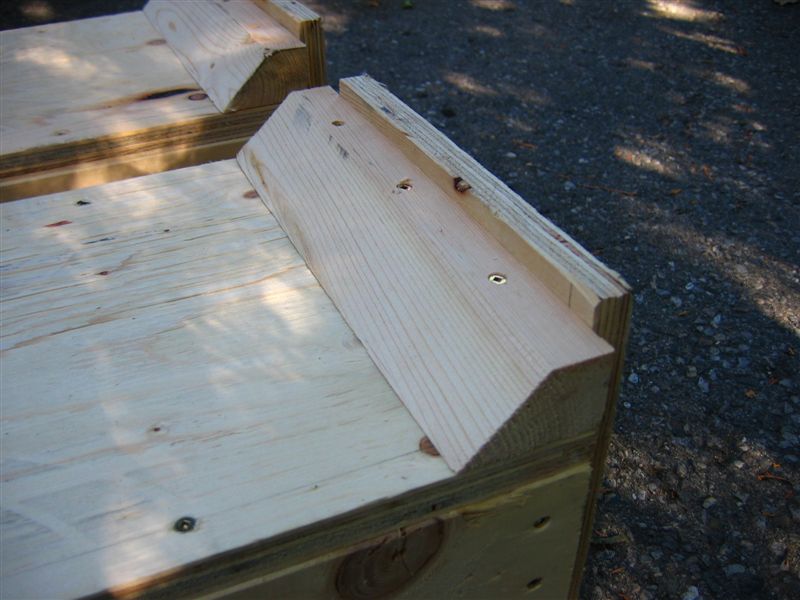
Joseph Caldwell
Tim your design for the lowered
ramps was dead on! Total build time 3.5 hours. I did modify the
design slightly by reinforcing the middle center brace with a 2x4 to
prevent cracking, but beyond that I followed your layout to a T, and
it worked perfectly for my 01 Z06. I have attached some pictures for
your site.

---------------------------------------------------------------------------------------------------------------------------
Barry
Hi Tim,
Thanks for your ramp writeup. I built my own copies of your
design a few months ago, and they work so well I gave away my Rhino
Ramps. Attached are a copy of shots, they're virtually identical to
yours. I used 3/4" plywood and added an additional 2x10 brace
directly under the spot where the tires rest.Thanks again from
another C5 owner for posting your design!


----------------------------------------------------------------------------------------------------------------